3.2 DIY MITTENS INSTRUCTIONS: 3.3 STEP 1: Prepare the mitten pattern. 3.4 STEP 2: Cut out the fabrics. 3.5 STEP 3: Start sewing the mittens. 3.6 STEP 4: Assemble the mitten body. 3.7 STEP 5: Make the fur lining. 3.8 STEP 6: Join the lining and the fleece. 3.9 STEP 7: Finish the fleece mittens.
How To Make Fleece Mittens With Faux Fur Lining – Free Mitten Pattern ⋆ Hello Sewing
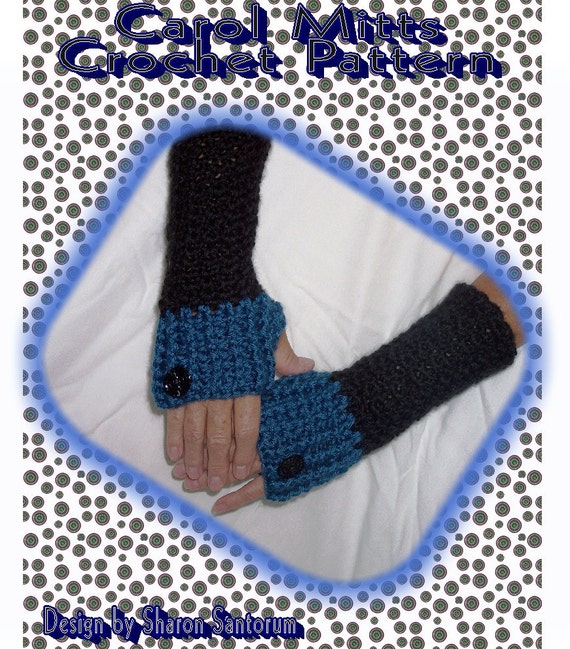
Women’s Mittens Pattern. ~ These mittens should be sewn with a medium weight woven fabric – wools or polyester blends are great. ~ They are fully lined with a knit/ stretch jersey fabric. (Bow is made of lining) ~ Yardage needed for main fabric and lining = 1/3 yard for each (min. 45″ width) ~ 1 yard of 1″ wide elastic is needed for
Source Image: etsy.com
Download Image
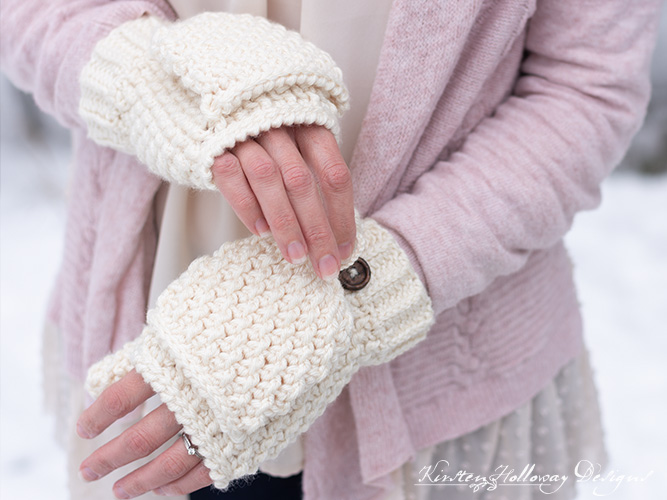
Trim the and snip the curves at the thumb so the mitten will lay nicely. With the exterior and the lining of the mitten inside out, pin the bottom right sides together making sure that is a 1.5 – 2 inch gap for turning. Sew together using a .5 inch seam allowance – leaving the gap for turning in the free mitten pattern.
Source Image: kirstenhollowaydesigns.com
Download Image
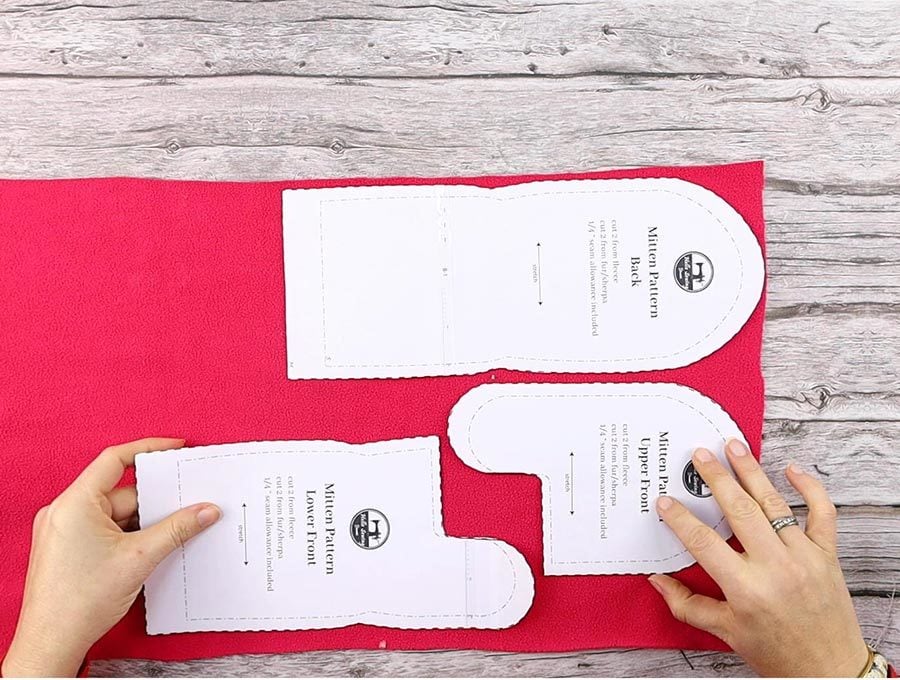
How to knit Easy Mittens for Beginners (3 sizes) – So Woolly – YouTube Step #2. Clip the mitten pieces at the dots to the stitching. This will allow the fabric to change to exterior seams for the rest of the mitten. (omit if sewing all with right sides together) Note the clipped sections after seams.

Source Image: nancyzieman.com
Download Image
Sewn Mitten Pattern Free
Step #2. Clip the mitten pieces at the dots to the stitching. This will allow the fabric to change to exterior seams for the rest of the mitten. (omit if sewing all with right sides together) Note the clipped sections after seams. Pin together, the inside of the sweater will be showing on both exterior sides. Sew around the mittens using a 1/4 to 3/8 inch seam allowance. Sew around once with a straight stitch and again with a zig zag stitch. Serge seam allowances if you want! Turn right sides out and repeat for second glove.
Nancy Zieman The Blog – Sew Mittens for Giving Tuesday and NEW! Fleece Fabrics at ShopNZP.com
Sewing your own mittens is a fun and rewarding project. Learn how to sew mittens with 25 free mitten sewing patterns in many styles and materials, from flannel to fleece, from leather to fur. Each free mitten sewing pattern has detailed instructions and pictures to help you along the way. You can choose from different styles and materials, such as cozy flannel, soft fleece, or recycled sweaters. Top 10 mittens sewing pattern ideas and inspiration

Source Image: pinterest.com
Download Image
Fleece Mittens • this heart of mine Sewing your own mittens is a fun and rewarding project. Learn how to sew mittens with 25 free mitten sewing patterns in many styles and materials, from flannel to fleece, from leather to fur. Each free mitten sewing pattern has detailed instructions and pictures to help you along the way. You can choose from different styles and materials, such as cozy flannel, soft fleece, or recycled sweaters.

Source Image: thisheartofmineblog.com
Download Image
How To Make Fleece Mittens With Faux Fur Lining – Free Mitten Pattern ⋆ Hello Sewing 3.2 DIY MITTENS INSTRUCTIONS: 3.3 STEP 1: Prepare the mitten pattern. 3.4 STEP 2: Cut out the fabrics. 3.5 STEP 3: Start sewing the mittens. 3.6 STEP 4: Assemble the mitten body. 3.7 STEP 5: Make the fur lining. 3.8 STEP 6: Join the lining and the fleece. 3.9 STEP 7: Finish the fleece mittens.
Source Image: hellosewing.com
Download Image
How to knit Easy Mittens for Beginners (3 sizes) – So Woolly – YouTube Trim the and snip the curves at the thumb so the mitten will lay nicely. With the exterior and the lining of the mitten inside out, pin the bottom right sides together making sure that is a 1.5 – 2 inch gap for turning. Sew together using a .5 inch seam allowance – leaving the gap for turning in the free mitten pattern.

Source Image: m.youtube.com
Download Image
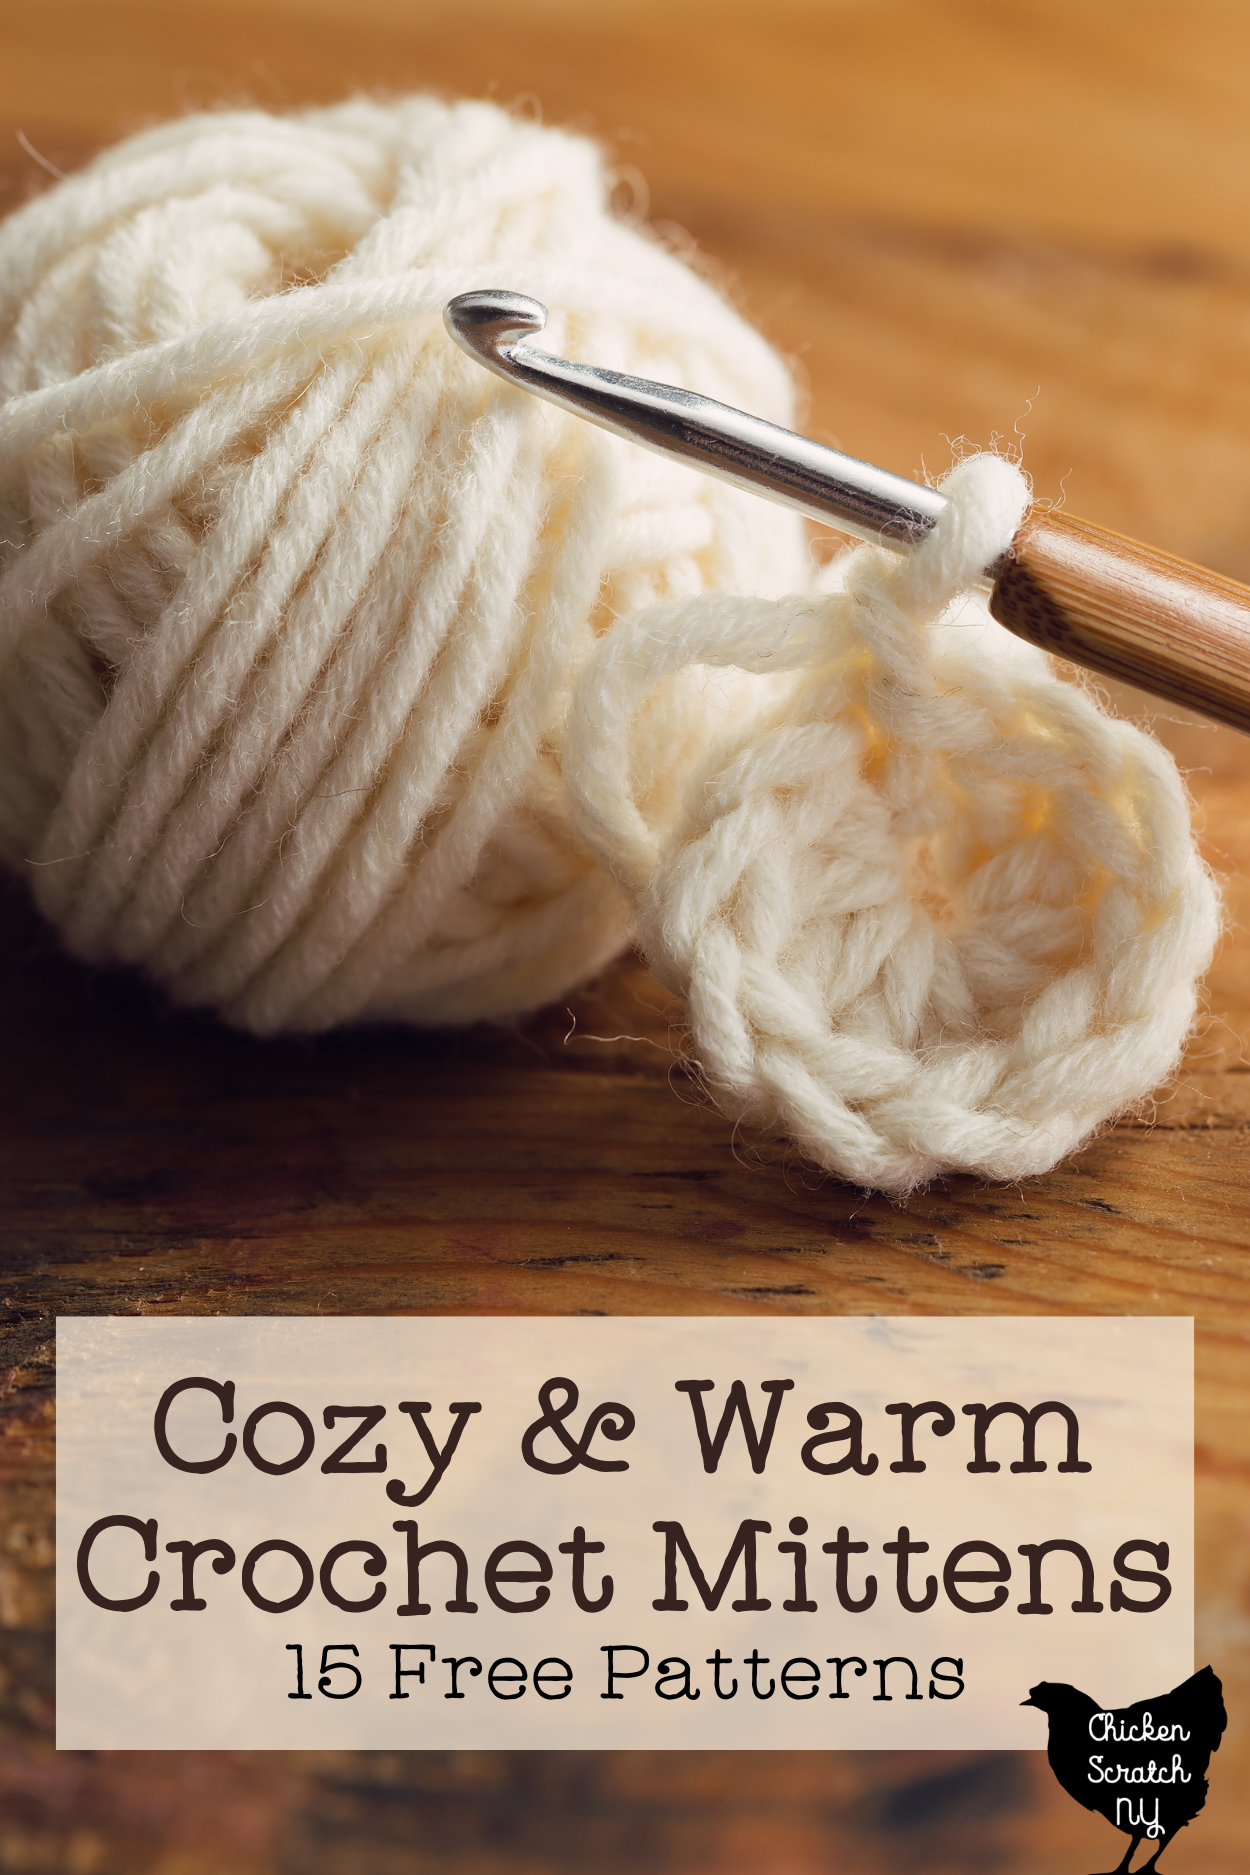
15 Free Cozy & Warm Crochet Mitten Patterns Tip 3: How to keep the wrist elastic taut while hand sewing. Cut a piece of cardboard to slide inside the wrist to keep the wrist elastic taut while hand sewing. The size of the cardboard will depend on the size mitten you are making. It should be about 3-4″ long. The widths are as follows: small-4″, medium-4½”, large-5 ⅛”.
Source Image: chickenscratchny.com
Download Image
Fleece Mittens • this heart of mine Step #2. Clip the mitten pieces at the dots to the stitching. This will allow the fabric to change to exterior seams for the rest of the mitten. (omit if sewing all with right sides together) Note the clipped sections after seams.

Source Image: thisheartofmineblog.com
Download Image
Free Crochet Mittens Pattern: Mrs. Murdock’s Mittens | Interweave Pin together, the inside of the sweater will be showing on both exterior sides. Sew around the mittens using a 1/4 to 3/8 inch seam allowance. Sew around once with a straight stitch and again with a zig zag stitch. Serge seam allowances if you want! Turn right sides out and repeat for second glove.

Source Image: interweave.com
Download Image
Fleece Mittens • this heart of mine
Free Crochet Mittens Pattern: Mrs. Murdock’s Mittens | Interweave Women’s Mittens Pattern. ~ These mittens should be sewn with a medium weight woven fabric – wools or polyester blends are great. ~ They are fully lined with a knit/ stretch jersey fabric. (Bow is made of lining) ~ Yardage needed for main fabric and lining = 1/3 yard for each (min. 45″ width) ~ 1 yard of 1″ wide elastic is needed for
How to knit Easy Mittens for Beginners (3 sizes) – So Woolly – YouTube Fleece Mittens • this heart of mine Tip 3: How to keep the wrist elastic taut while hand sewing. Cut a piece of cardboard to slide inside the wrist to keep the wrist elastic taut while hand sewing. The size of the cardboard will depend on the size mitten you are making. It should be about 3-4″ long. The widths are as follows: small-4″, medium-4½”, large-5 ⅛”.
